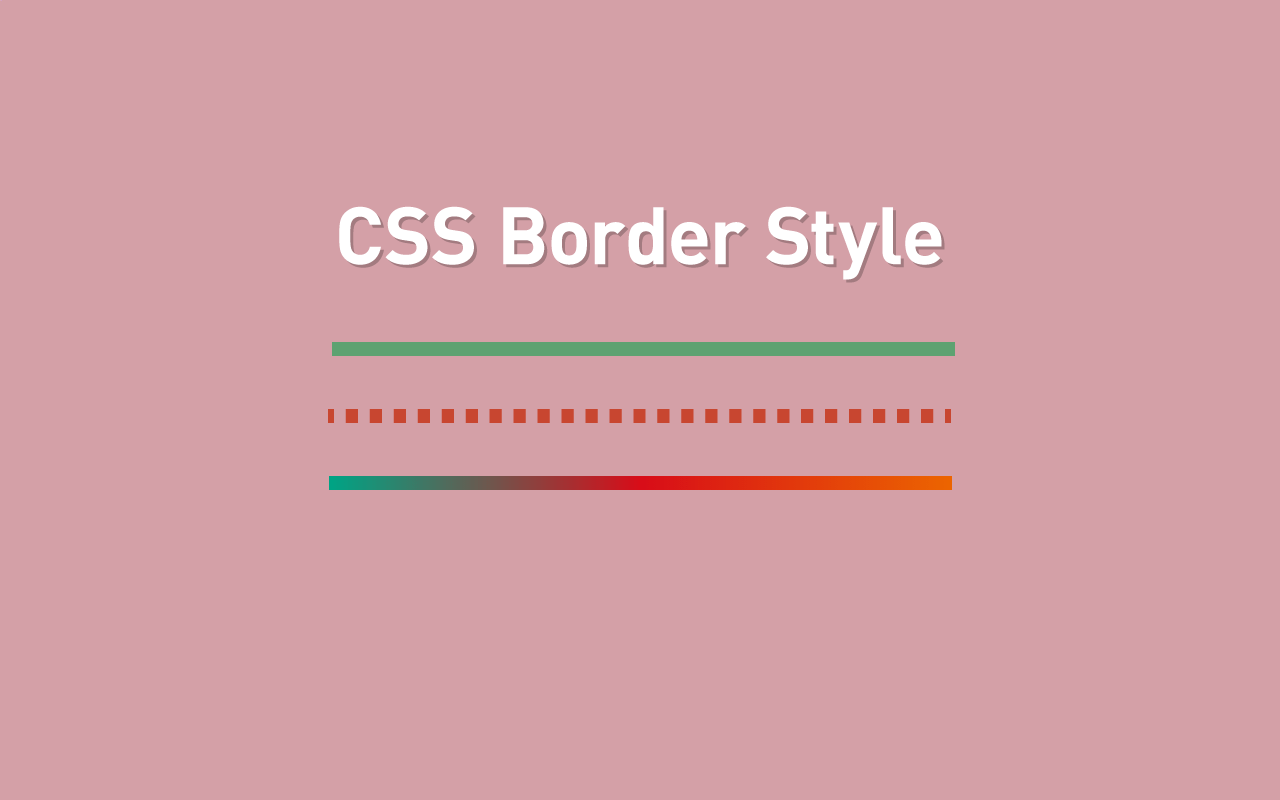
Webデザインでのボーダーは必ず使われるといってもいい重要な要素です。見出しやボタンを目立たせたり、区切りとしての役割を担ったりします。
最近はCSSだけでもボーダーのデザインは多彩にできるようになりました。
本記事ではCSSでできるボーダーデザイン例をまとめました。
テキストの下だけにライン

<div class="section section0">
  <h2>文字の下だけにライン</h2>
</div>
文字の下だけにボーダーを引く場合はボーダーを引きたい要素にdisplay:inline-blockを適用します。
但し中央揃えにしたい場合、display:inline-blockを指定するとmarginが効かなくなるのでラッパー.section0にtext-align:centerを指定します。
CSSを開く
.section0{
 text-align:center;
}
.section0 h2{
 display:inline-block;
 border-bottom:1px solid #333;
}
2色重ねたアンダーライン
やりたかったのはこんな感じのやつです。
 ボーダーを2色重ねる
便宜上.sectionで囲っていますがデザイン上の意味はありません。
<div class="section section1">
 <h2>2色重ねたアンダーライン</h2>
</div>
::after擬似クラスで作ったボーダーを重ねています。
CSSを開く
h2{
 position:relative;
 padding:8px;
 border-bottom:4px solid #333;
}
h2::after{
 position:absolute;
 bottom:-4px;
 left:0;
 width:20%;
 content:'';
 border-bottom:4px solid #ccc;
}
タイトルの両端にボーダー ショートタイプ
 タイトルの両端にボーダー、ショートタイプ
<div class="section section3">
 <h2>タイトルの両端にボーダー ショートタイプ</h2>
</div>
タイトル文字の両側にボーダーがあるデザイン、文字の量が多い場合にはみ出ないようにラッパーの.section4のoverflow:hiddenではみ出すラインを隠します。
同じく.section4に指定しているtext-align:centerでh2が中央寄せになります。
CSSを開く
.section3{
 overflow:hidden;
 text-align:center;
}
.section3 h2{
 position:relative;
 display:inline-block;
 padding:0 30px;
 text-align:center;
}
.section3 h2::after,
.section3 h2::before{
 position:absolute;
 top:50%;
 width:60px;
 height:2px;
 content:'';
 transform:translateY(-50%);
 background:#ccc;
}
.section3 h2::before{
 right:100%;
}
.section3 h2::after{
 left:100%;
}
タイトルの両端にボーダー ロングタイプ
 タイトルの両端にボーダー、ロングタイプ
<div class="section section4">
  <h2>タイトルの両端にボーダー ロングタイプ</h2>
</div>
ショートタイプとほぼ同じですが、before,after疑似要素が横いっぱいに広がるようにwidthに大きな値を指定しています。
CSSを開く
.section4{
 overflow:hidden;
 text-align:center;
}
.section4 h2{
 position:relative;
 display:inline-block;
 padding:0 30px;
 text-align:center;
}
.section4 h2::after,
.section4 h2::before{
 position:absolute;
 top:50%;
 width:9999em;
 height:2px;
 content:'';
 transform:translateY(-50%);
 background:#ccc;
}
.section4 h2::before{
 right:100%;
}
.section4 h2::after{
 left:100%;
}
二重線のタイトル borderとoutline
 borderとoutlineを使った二重線
<div class="section section5">
  <h2>二重線のタイトル</h2>
</div>
borderとoutlineプロパティで二重線を簡単に作成できます。outlineはborderよりも外側になります。
注意するのは、outlineにはborder-radiusはききません。border-raidusで角丸にしたい場合は別の方法で実装することになります。
CSSを開く
.section5 h2{
 padding:10px;
 border:6px solid #f5b700;
 outline:2px solid #00a1e4;
}
box-shadowで複数ボーター、角丸にする
 box-shadowの四重線、外側に向かってボーダーが重なる
<div class="section section6">
 <h2>box-shadowの四重線</h2>
</div>
複数のボーターを設定してさらに角丸にするにはbox-shadowプロパティで実現できます。
シャドウを実線にする場合は第3引数のぼかしの値を0にします。第4引数のシャドウの広がりがボーダーの太さになります。
またボーダーは設定順に内側から描画されるので、外側にいくほど内側の太さを含めた数値にします。
CSSを開く
.section6 h2{
 margin:20px;
 padding:8px;
 border-radius:8px;
 box-shadow:0 0 0 5px #ddf2eb,
            0 0 0 10px #d3cdd7,
            0 0 0 15px #bc9cb0,
            0 0 0 20px #606d5d;
}
上記の例だと、内側から外側に向かってボーダーが重なっていくので、すぐ隣に別の要素があった場合に影響を与えてしまいます。(上の場合はmarginプロパティでボーダー分を調整しています)
insetを使えば、内側にボーダーを重ねていくことができます。
※内側に向かってボーダーが重なるので順序が逆になります。
 box-shadowの四重線、insetで内向きになる
.section6 h2{
 margin:0;
 padding:28px;
 border-radius:20px;
 box-shadow:0 0 0 5px #ddf2eb inset,
            0 0 0 10px #d3cdd7 inset,
            0 0 0 15px #bc9cb0 inset,
            0 0 0 20px #606d5d inset;
}
グラデーションのライン
 border-imageプロパティでグラデーションのボーダー
<div class="section7 section">
 <h2>グラデーションのライン</h2>
</div>
グラデーションのラインもborder-imageプロパティを使えば簡単に表現できます。
CSSを開く
.section7 h2{
 border-bottom:4px solid transparent;
 border-image:linear-gradient(to right,#d81159 40%,#006ba6 100%);
 border-image-slice:1;
}
 文字の下だけにグラデーションのライン
display:inline-blockで文字の下だけにボーダーを引きます。
CSSを開く
.section7 h2{
 display:inline-block;
 border-bottom:4px solid transparent;
 border-image:linear-gradient(to right,#d81159 40%,#006ba6 100%);
 border-image-slice:1;
}
6色ボーダーライン
 spanでボックスを作ってボーダーのように見せる
<div class="section8 section">
 <div class="header">
   <h2>6色ボーダーライン</h2>
     <span></span><span></span>
 </div>
</div>
少しハック的ですがspanプロパティでボーダーを表現しています。高さを指定するので、文章量が決まっている場合のみ有効です。
CSSを開く
.section8{
    position: relative;
    overflow: hidden;
    box-sizing: border-box;
}

.section8 .header{
    width: 100%;
    height: 3rem;
}

.section8 .header span{
    position: relative;
    display: block;
    width: calc(100% / 3);
    height: 100%;
    margin-left: 50%;
    transform: translate(-50%, -50%);
}

.section8 .header span::before,
.section8 .header span::after{
    position: absolute;
    display: block;
    width: 100%;
    height: 100%;
    content: '';
}

.section8 .header span::before{
    right: 100%;
}

.section8 .header span::after{
    left: 100%;
}

.section8 .header span:first-child{
    background-color: #76b041;
}

.section8 .header span:first-child::before{
    background-color: #0f8b8d;
}

.section8 .header span:first-child::after{
    background-color: #17bebb;
}

.section8 .header span:nth-child(2){
    background-color: #ec9a29;
}

.section8 .header span:nth-child(2)::before{
    background-color: #ffc914;
}

.section8 .header span:nth-child(2)::after{
    background-color: #a8201a;
}

.section8 h2{
    line-height: 1.4;
    position: absolute;
    top: 50%;
    left: 50%;
    width: calc(100% - 8px);
    height: calc(100% - 8px);
    margin: 0;
    padding: 8px 16px;
    transform: translate(-50%, -50%);
    background: #fff;
}

.section8 *,
.section8 *:before,
.section8 *:after{
    box-sizing: inherit;
}
二重のボーダー
 疑似要素を使って二重の囲い枠
<div class="section section9">
 <h2>二重のボーダー</h2>
</div>
疑似要素で二本のボーダーを表現しています。
CSSを開く
.section9{
 position:relative;
 padding: 8px 16px;
}
.section9::after,
.section9::before{
 position:absolute;
 top:0;
 right:0;
 bottom:0;
 left:0;
 content:'';
 border-width:2px;
 border-style:solid;
}
.section9::after{
 transform:translate(3px,3px);
 border-color:#89023e;
}
.section9::before{
 transform:translate(-3px,-3px);
 border-color:#ea638c;
}
DEMO


